Learn how to set up the Personal Welcome Kit Campaign
In this article, we will cover how to set up the Personal Welcome Kit Campaign. Watch the video walkthrough below or scroll down for instructions on how to set up this campaign!
Setting Up the Personal Welcome Kit Campaign
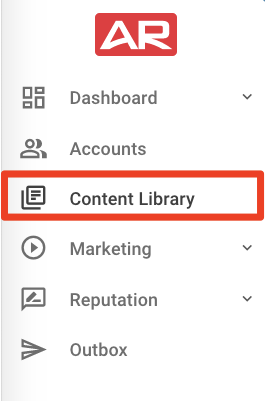
To locate the campaign, first, click "Content Library" in the left navigation bar:
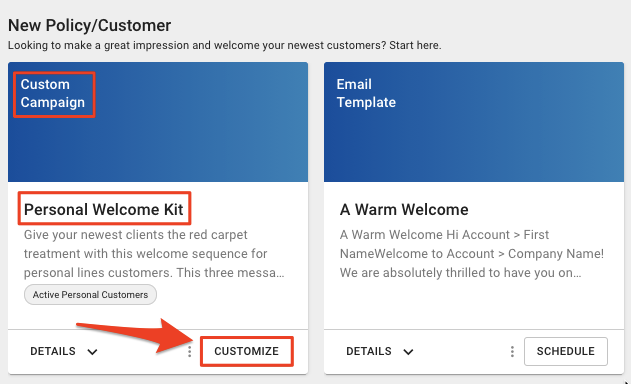
Under the "New Policy/Customer" section, locate the Personal Welcome Kit. There are two versions of this campaign:
-
Quick Start Campaign*: This three message sequence welcomes new clients, reassures them that their safety is your first priority, and ends with a helpful tip for when they need to file a claim.
-
Custom Campaign: This is a customizable version of the Quick Start campaign.
*If you choose the Quick Start Campaign option, you will not have the ability to edit it. You can toggle on this campaign and use our default content.
We will focus on setting up the custom version of this campaign. After you locate the Custom Campaign - Personal Welcome Kit in the Content Library, select "Customize":
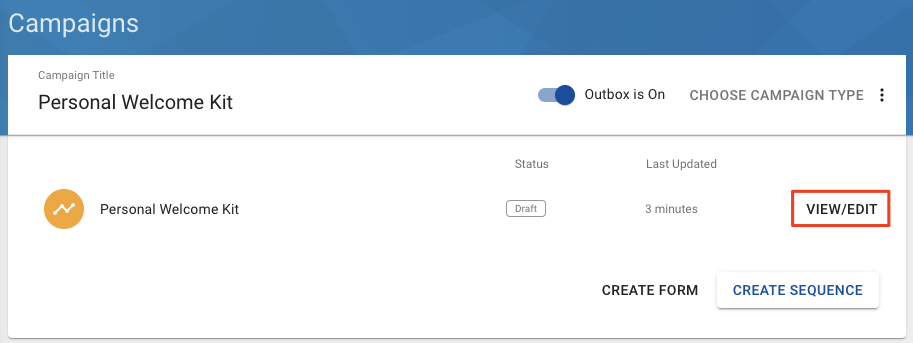
This will install the campaign to your Custom Campaign Library. Click "View/Edit" to start customizing the campaign:
Determine Your Audience
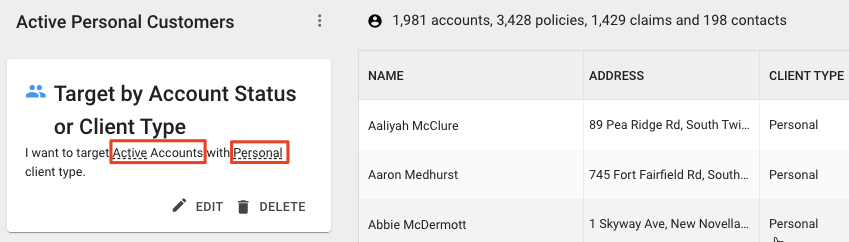
Next, we will confirm who gets the messages and when. The Personal Welcome Kit targets Active Personal Customers. To audit the segment to confirm who is being targeted, click on "Active Personal Customers" in the "In other words" section:

This will open a new window with the Active Personal Customers Segment that was installed with the campaign. Here, you can confirm that the segment is targeting "Active Accounts" with a "Personal" client type.
After confirming the segment for your group, you can close the window to return to the Personal Welcome Kit Sequence page.
When are people from Active Personal Customers added and subtracted from the audience?
Next up, we will confirm when people will be added or removed from the audience. The campaign defaults to add audience members "In The Future." This means that the campaign will add audience members when they match specific triggers in the future. The trigger for this campaign is a New Customer Event. A New Customer Event is defined as having had zero policies or active accounts with you in the last six months, and they then have an active account.*
Next time you sync with this new client in your agency management system, it is going to add them to the Welcome Kit Campaign!
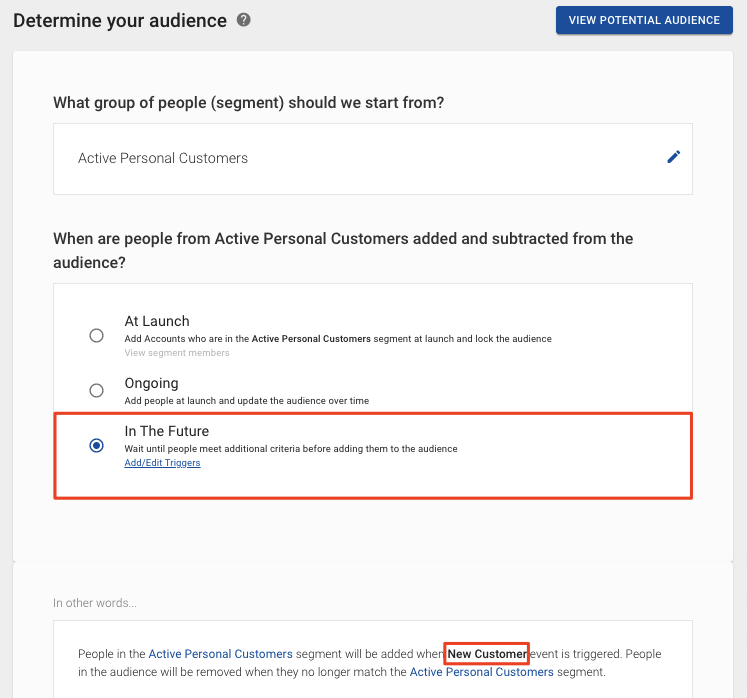
*You can confirm the trigger is a "New Customer" event by either clicking "Add/Edit Triggers," or it will be displayed in the "In other words" section.
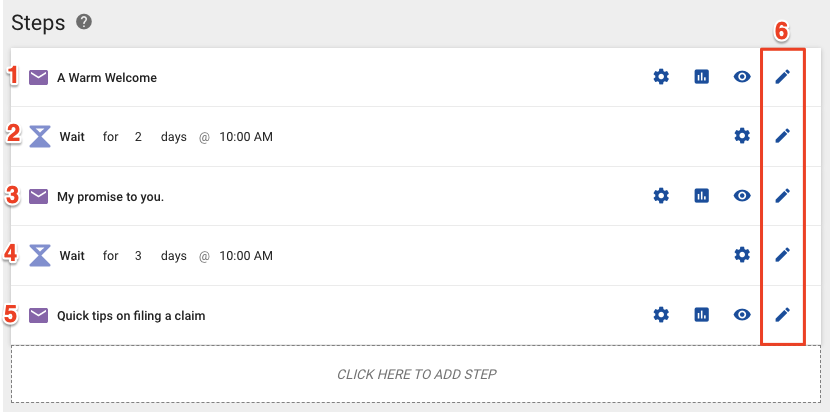
Steps
The "Steps" section will show you an overview of the campaign.
-
A Warm Welcome - This is an email to welcome new clients.
-
Wait - 2 days from the first email before sending the second email.
-
My promise to you - This email assures clients that their safety is your first priority.
-
Wait - 3 days from the second email before sending the third and final email.
-
Quick tips on filing a claim - This email includes helpful tips for filing a claim.
-
Pencil Icon - You can click on this icon to edit the email content or wait times.
Launching Your Campaign
When you are ready to launch the campaign, set it live by clicking "Launch," on the bottom right corner:

Review your changes, and click "Go Live."

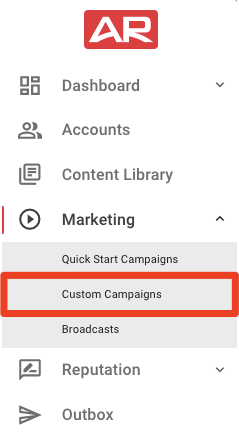
Great job, you've set up the Personal Welcome Kit Campaign! If you ever need to edit or delete this campaign in the future, you can locate the campaign by clicking on Marketing>>Custom Campaigns in your left navigation bar.