Learn how to set up the Cyber Liability Campaign
This educational campaign is ideal for helping your clients understand the dangers of foregoing Cyber Liability coverage.
Setting Up the Cyber Liability Campaign
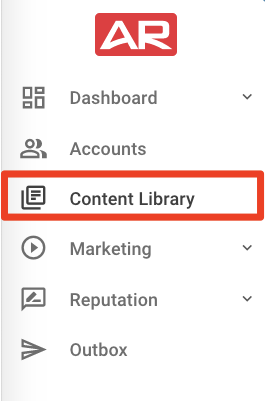
To locate the campaign, first, click "Content Library" in the left navigation bar:
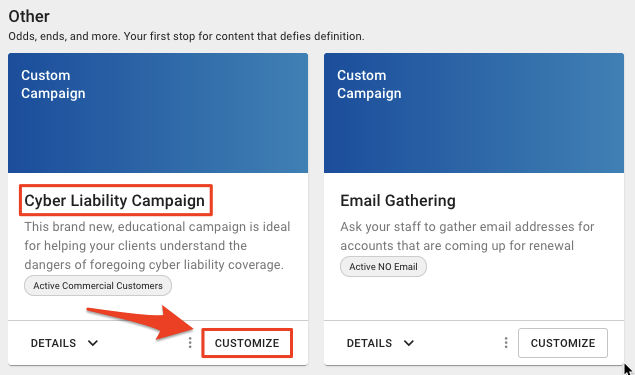
Under the "Other" section, locate the Cyber Liability Campaign and select "Customize":
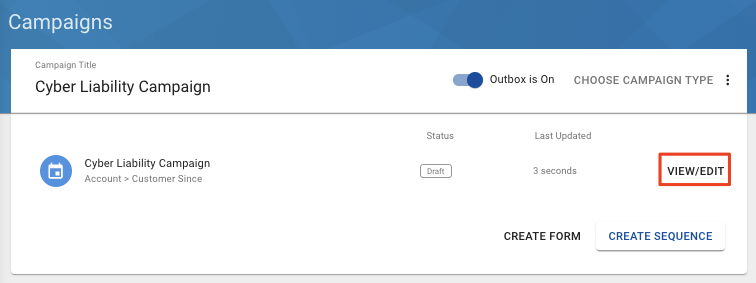
This will install the campaign to your Custom Campaign Library. Click "View/Edit" to start customizing the campaign:
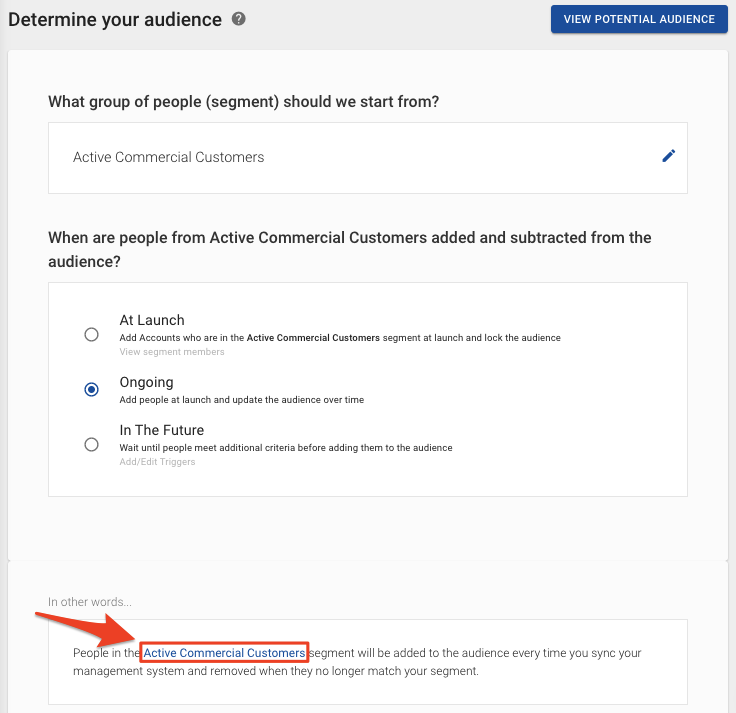
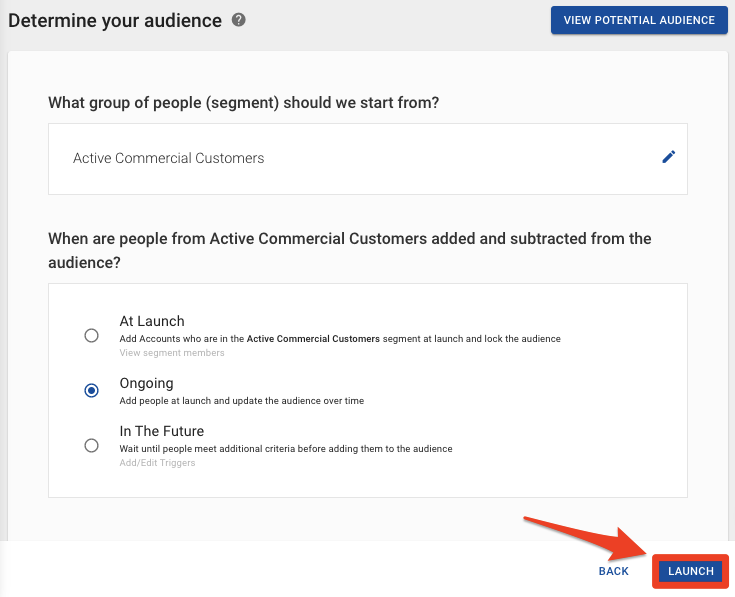
Determine Your Audience
Next, we will confirm who gets the messages and when. The Cyber Liability Campaign targets Active Commercial Customers.
Note: If you are able to identify Cyber Liability policies in Fuse by their policy type, we recommend updating the campaign segment to exclude those people since they already have a Cyber Liability policy. Click here for instructions on how to create an advanced segment to exclude this policy type.
To audit the segment to confirm who is being targeted, click on "Active Commercial Customers" in the "In other words" section:
This will open a new window with the Active Commercial Customers Segment that was installed with the campaign. Here, you can confirm that the segment is targeting "Active Accounts" with a "Commercial" client type.
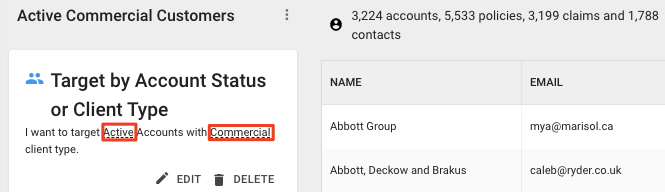
After confirming the segment for your group, you can close the window to return to the Cyber Liability Campaign Sequence page.
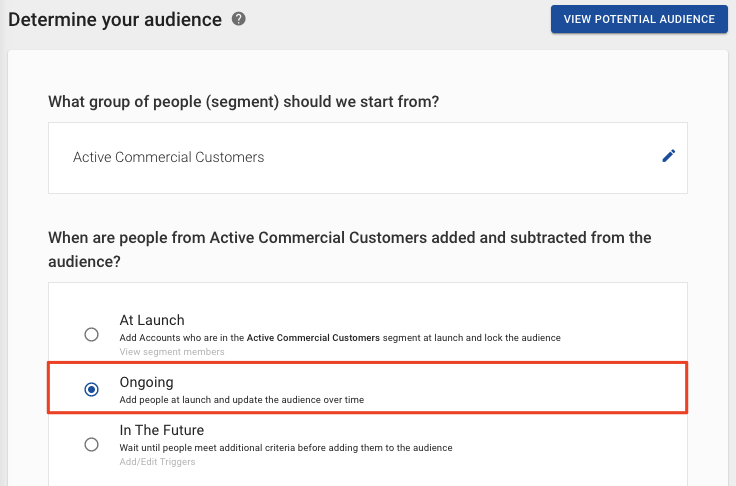
When are people from Active Commercial Customers added and subtracted from the audience?
Next up, we will confirm when people will be added or removed from the audience. The campaign defaults to add audience members on an "Ongoing" basis. This means that each year a client is going to receive this campaign and if they ever become inactive they are going to be removed from this campaign. Also, if a new client comes in, they will be added to the campaign right away.
People in the Active Commercial Customers segment will be added to the audience every time you sync your management system and removed when they no longer match your segment.
Steps
The "Steps" section will show you an overview of the campaign.
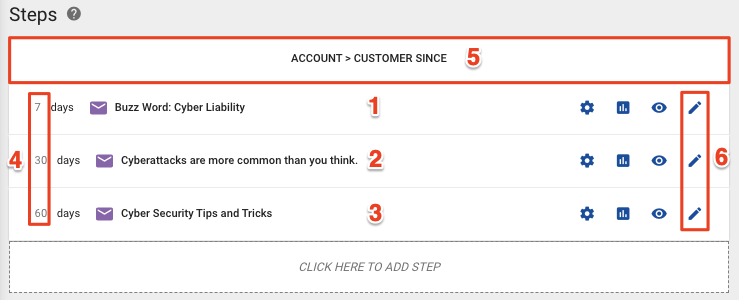
-
Buzz Word: Cyber Liability - This email lets customers know what cyber liability insurance covers.
-
Cyberattacks are more common than you think - This follow-up email lets clients know that cyberattacks are becoming more common and that it is important to be covered.
-
Cyber Security Tips and Tricks - This final email provides tips and tricks to stay safer in the cyber world.
-
Event's Relative Days - If you want to make changes to the event's relative days, you can click on the days listed on the far right of each step.
-
Account > Customer Since - This campaign uses an Account Date Sequence. The default for this campaign is "Account > Customer Since." You can click on this section if you'd like to change this to a different date that you think would work best for you. If you click on this section, you will see that this campaign is set to run annually.
-
Pencil Icon - You can click on this icon to edit the email content.
Launching Your Campaign
When you are ready to launch the campaign, set it live by clicking "Launch," on the bottom right corner:
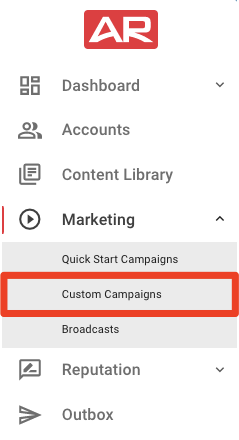
Great job, you've set up the Cyber Liability Campaign! If you ever need to edit or delete this campaign in the future, you can locate the campaign by clicking on Marketing>>Custom Campaigns in your left navigation bar.