
Looking to send a message to your clients around the holidays? We have a library filled with email templates for you to choose from!
How to Send a Holiday Email Broadcast
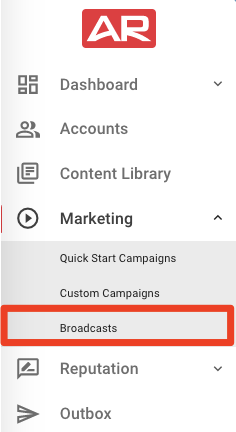
To create a holiday email broadcast, first, navigate to Marketing >> Broadcasts:
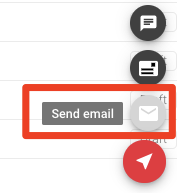
On the bottom-right corner click the arrow icon >> Send Email:
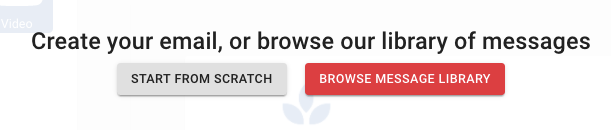
Browse and Select a Message
You can then either "Start from Scratch" or "Browse Message Library." Click "Browse Message Library" to select from our library of prewritten emails:
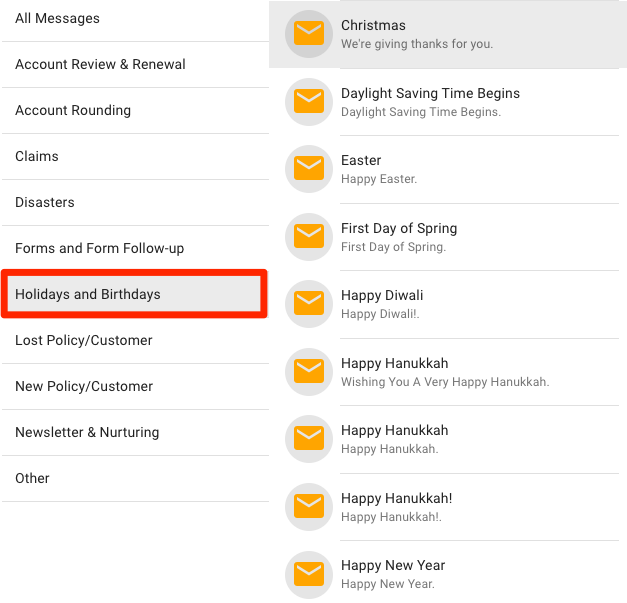
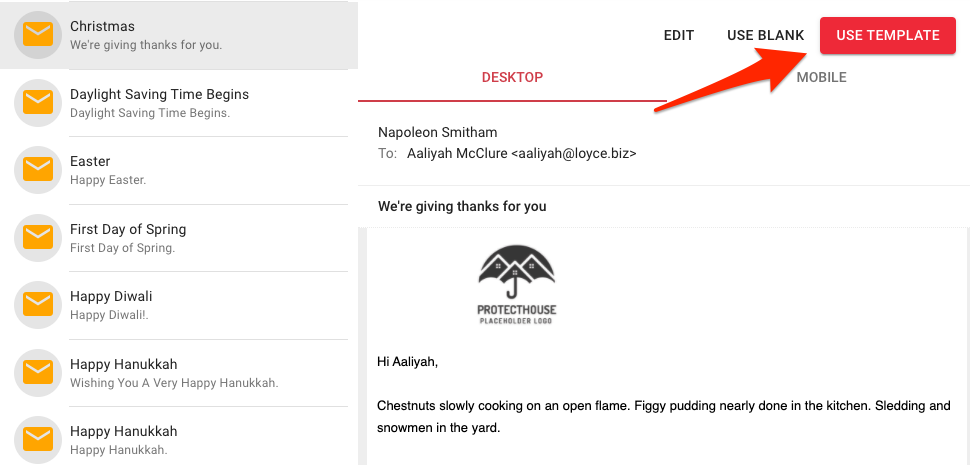
Click on the "Holidays and Birthdays" to browse our templates in that category:
You can click on a template for a preview. After you select a template that you would like to use, click "Use Template":
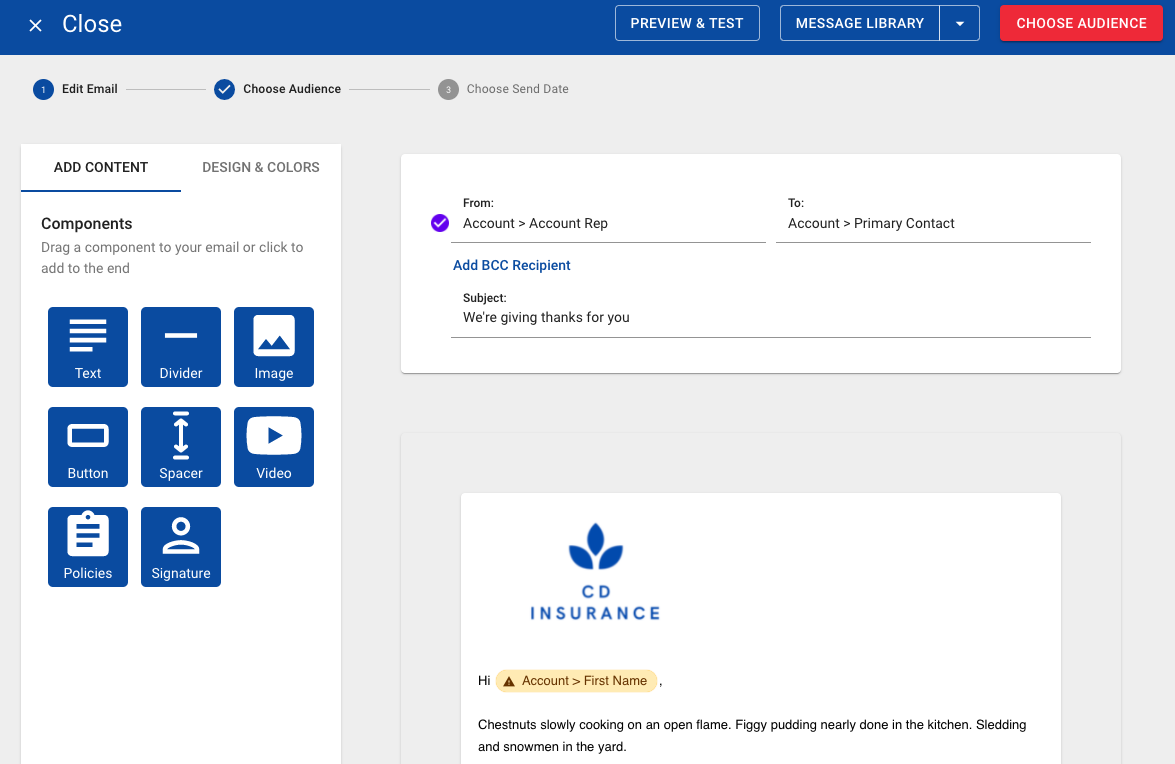
The message will then open in the Email Builder where you start customizing it. Closing your office early for the holidays? You can edit the email template to include your holiday office hours.
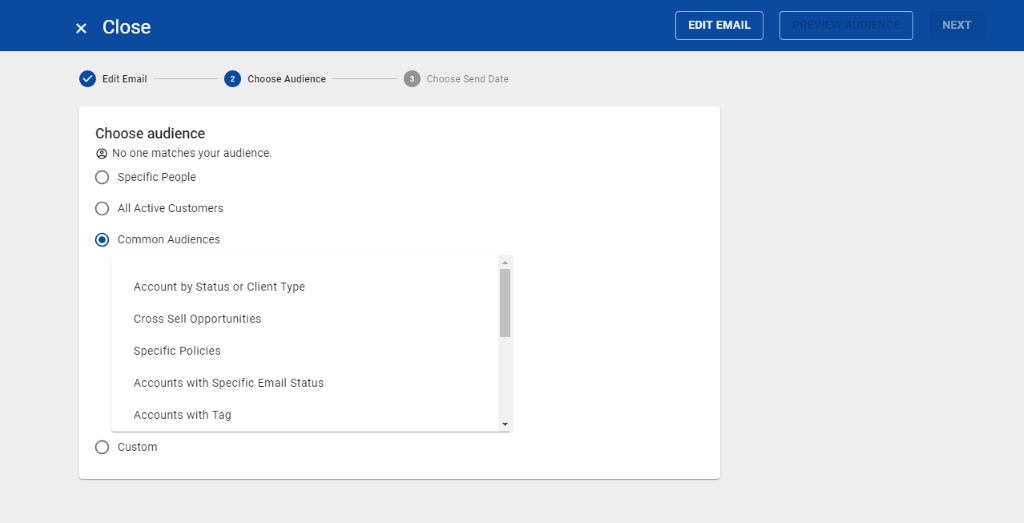
Choose Audience
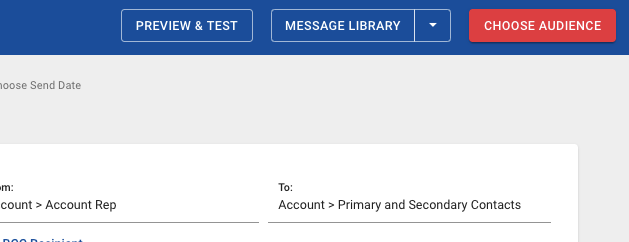
After you customize your email, it is time to select your audience. Click on "Choose Audience" located in the upper-right hand corner to get started:
You have different options to select from here. (Note: If you started from the accounts view and selected a segment, this step will already be completed.)
-
"Specific People": Select the specific people you would like to send your email to.
-
“All Active Customers”: This will target every active account on your list.
-
“Common Audiences”: Select this option if you’d like to use common audiences.
-
“Custom”: Use this option to create your segment.
Choose a Send Date
Now that your email is composed and the audience is selected, it is time to send it!
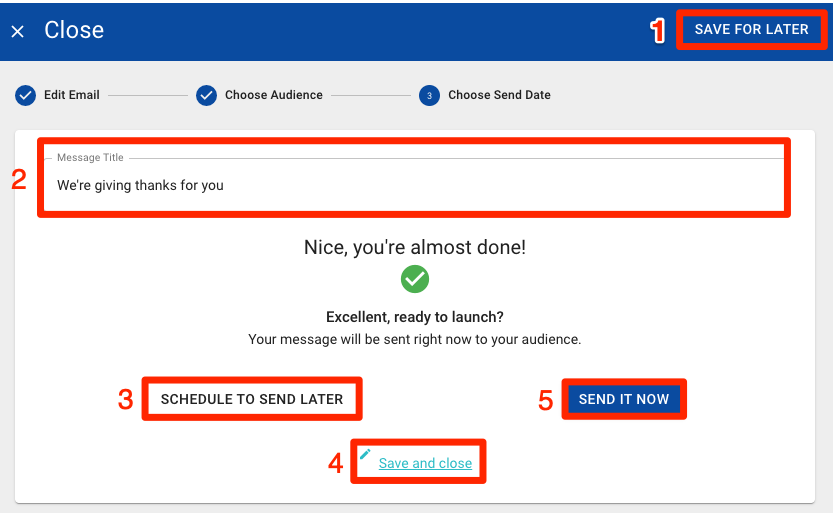
You will see the following options on this page:
-
"Save for Later": Your email will be saved in the 'Draft' area.
-
"Message Title": The message title will default based on the name of the template you chose, but feel free to edit the title. The message title is not the subject line of your email, but rather a broad description that only your company will see in Fuse.
-
“Schedule to Send Later”: You can schedule a future date that you would like the email to send on. Your email will then appear in the "Scheduled" items in your Broadcast menu.
-
“Save and Close”: Your email will be saved in the 'Draft' area.
-
“Send It Now”: The email will immediately send to your audience.
Note: Once you leave this page, you can navigate back here by going to Marketing >> Broadcasts.