
Are you looking to set up a Fuse form and follow-up campaign? In this article we will be covering the following:
Selecting the Fuse Form
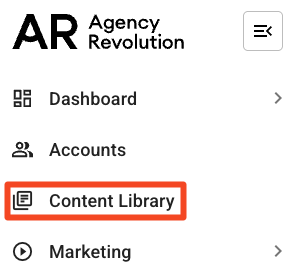
First, navigate to your Content Library by clicking on "Content Library" in the left navigation bar:
In the Content Library, scroll down until you locate the Forms and Form Follow-Up content pieces. You can scroll through them using the arrows, or click "View All" to look at all the Fuse campaigns with forms:

Customizing the Fuse Form
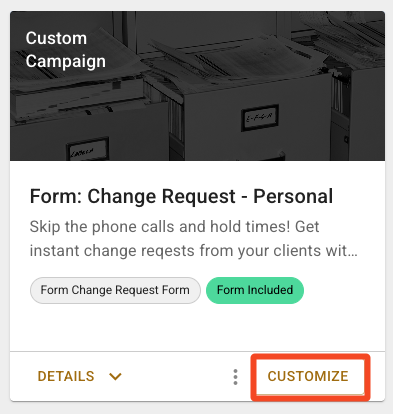
Click "Customize" on the campaign you would like to set up:
Fuse will create your campaign for you, and you'll be taken the campaign page. You'll want to customize the form by selecting "View/Edit" on the form from this page:

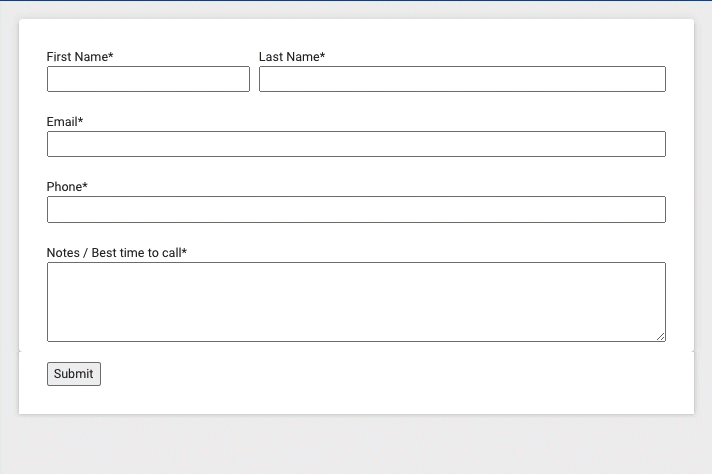
You'll be taken to the form's page, where you can mouse over the form body and bring up the "Edit Your Form" button. Make sure you're on the "Edit & Preview" tab!

Click the "Edit Your Form" button to open up the Form Builder within Fuse.
The form builder is where you can:
-
Add additional fields to your form. You can see they are categorized by the most popular fields as well as added generic fields that you can customize.

Note: It is always good to remember that less is more when adding fields to a form. Having more than five fields on any form can drop your conversion rate drastically.
-
Remove fields by clicking on the field you want to remove, selecting the trash can, and then selecting delete:
-
Edit existing fields by clicking on the field make any adjustments you'd like to the description of the field, and any special properties in the case of the field being a dropdown. You can also toggle if the field is required:

-
From the "Settings" tab on the left-hand side of the Form Builder, you can configure the form's confirmation text (this is what is displayed on the web page after the form is submitted), or you can redirect a thank you landing page if you have one created. You can also determine lead ownership of the form which means that person by default will receive the follow-up email after submission.

Once you're done editing your form, you can hit "Preview" in the top right corner to see how the form is going to be displayed. Once you're done viewing your form you can hit the "Done" button.

Setting up a Fuse Form Follow-Up Campaign
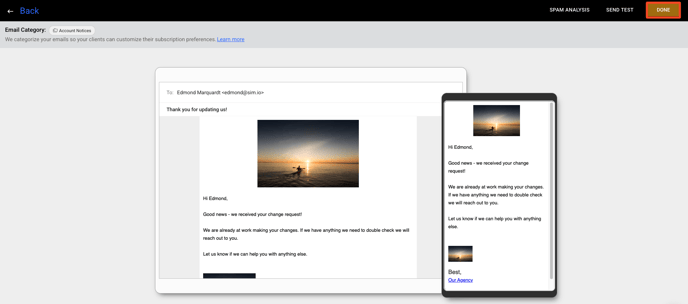
Back on the form's main page, select the "Follow-Up" tab. This is where you can review and edit the "Thank You" email that's sent to your customer and your own internal follow-up email. Under the form follow-up sequence, select "View."

Scroll down the "Steps" portion of the page and click the pencil icon next to the title of the first email to start editing:
Once you've finished editing the email, select the "Save & Preview" button in the upper left corner to preview your email. You can then select "Done" to save your changes:
Now, let's edit the second email in the sequence. This is the internal email sent after your customer has submitted their form responses. You'll want to add the correct merge fields that will pull the correct data from the form after it has been submitted.

Launching Your Fuse Form
Once you have finished editing the internal email, you may want to embed the form onto your website. However, before you can embed the form you'll need to launch the Fuse campaign your form is attached to by clicking "Launch" on the bottom right corner.
Embedding the Fuse Form on Your Website
Please make sure to launch your form's campaign in order to make the form live on your website.
In order to get the form embed code, return to the form sequence page and select the tab labeled "Embed":
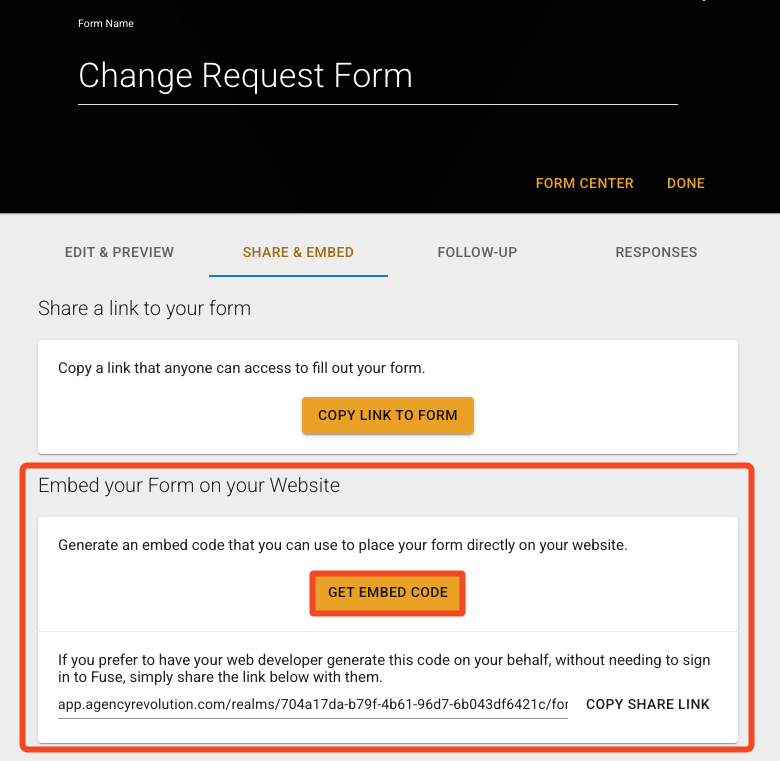
Here, if you click "Get Embed Code," you'll be given a few customization options and an option to redirect to a specific web page after someone has completed and submitted the form.

If you have multiple locations at your agency, and you are grabbing a link to a Fuse form, make sure the Form Location dropdown matches your intended location so that the branding is matched and clear for your customers.
Note: Remember to launch the Fuse campaign tied to your form or it will not show up on your website!
After you've completed your customizations, click "Done." You can then click "Copy This" to copy the embed code.
If you have access to modifying your website, you'll want to place this embed code in the appropriate area you would like the form to reside in.
If you're an Agency Revolution Forge client, please reach out to our Client Experience team for assistance getting this embed code added onto your website.