
This campaign takes advantage of your existing commercial relationships as a means for cross-selling Workers Comp. Your clients gain further coverage information, while you gain a valuable cross-sell opportunity.
Setting Up the Cross-Sell Campaign: Commercial to Workers Comp
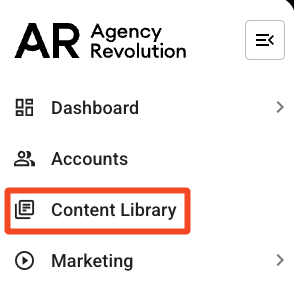
To locate the campaign, first, click "Content Library" in the left navigation bar.
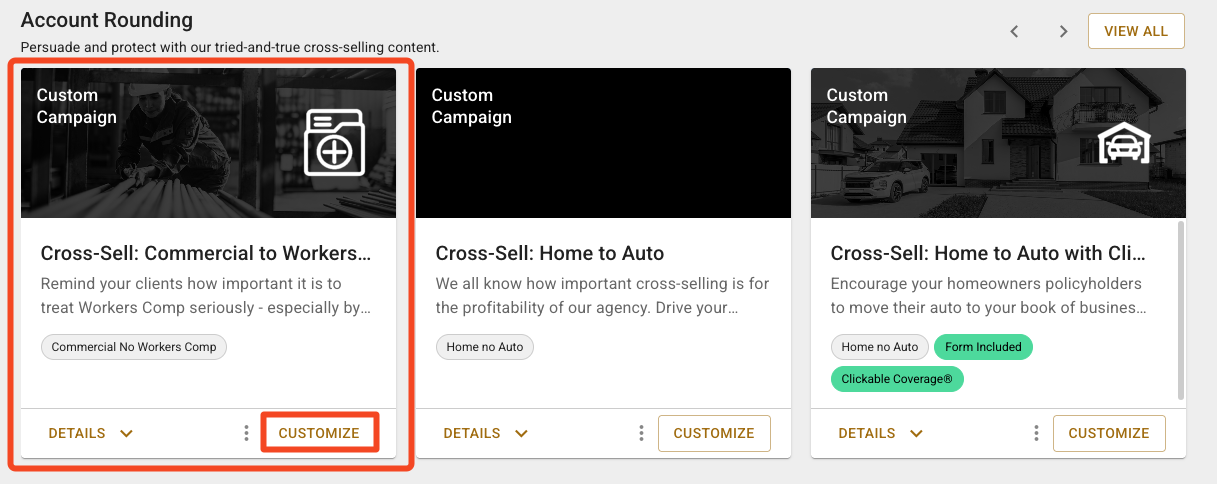
Under the "Account Rounding" section, locate the "Cross-Sell: Commercial to Workers Comp" and select "Customize." This will add the campaign to your Custom Campaign Library. Click on the "View/Edit" option on the right side of your screen to start customizing the campaign.
Determine Your Audience
Next, we will confirm who gets the messages and when. The Commercial to Workers Comp Cross-Sell Campaign targets Commercial No Workers Comp customers. To audit the segment to confirm who is being targeted, click on the blue "Commercial No Workers Comp" text in the "In other words" section.

This will open a new window with the Commercial No Workers Comp Segment that was installed with the campaign.
-
Account" segment - You can confirm that the segment is targeting "Active Policy Types" that do "Not Contain Workers Comp."
-
"Policy" segment - You can confirm that the "Policy > Is Active" and "is True," and that the "Policy > Client Type" is "Commercial."
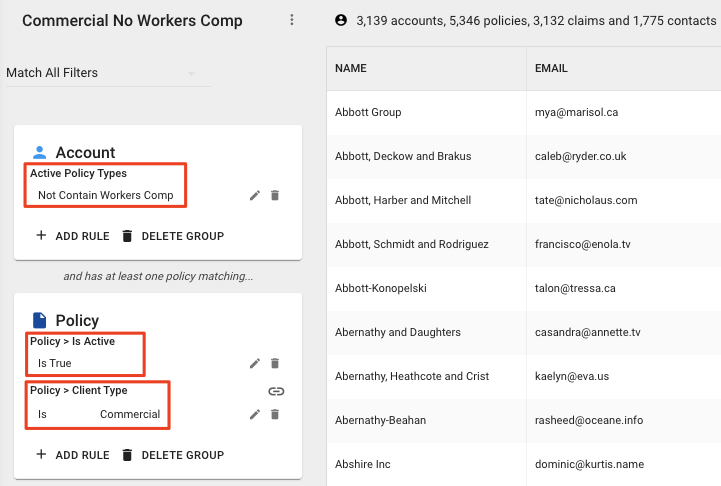
After confirming the segment for your group, you can close the window to return to the Commercial to Workers Comp Sequence page.
When are people from Commercial No Workers Comp added and subtracted from the audience?
Next up, we will confirm when people will be added or removed from the audience. The campaign defaults to add audience members on an "Ongoing" basis. This means that if a customer buys a Workers Comp policy, they will be removed from the campaign. Alternatively, if a customer no longer has a Workers Comp policy, they will be added if they just had a commercial policy.
People in the Commercial No Workers Comp segment will be added to the audience every time you sync your management system and removed when they no longer match your segment.
Steps
The "Steps" section will show you an overview of the campaign.
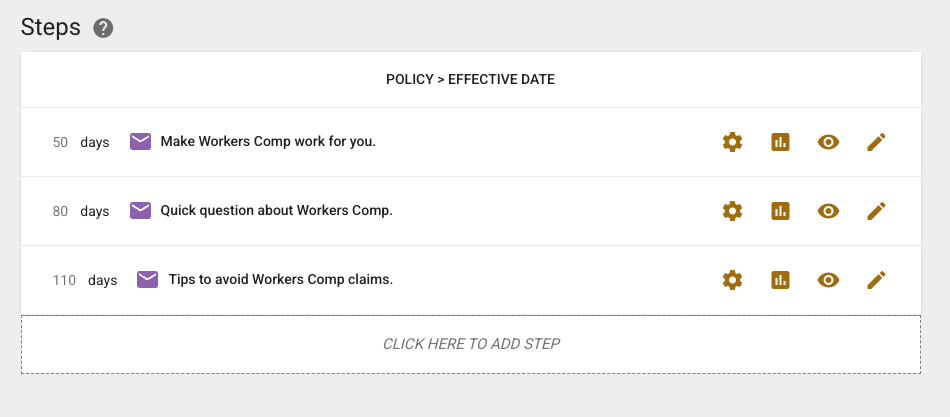
You can click the pencil icon next to each email in the campaign to edit the content in the email.
Now that you've reviewed the campaign and made any changes you'd like to, it's time to launch the campaign!
Launching Your Campaign
When you are ready to launch the campaign, set it live by clicking "Launch," on the bottom right corner. Review your changes, and click "Go Live."
Great job, you've set up your new campaign! If you ever need to edit or delete this campaign in the future, you can locate the campaign by clicking on "Marketing" option in the left sidebar and selecting "Custom Campaigns" from the dropdown.