
The Unable to Email campaign is a great way to ensure that you are actively trying to collect email addresses for accounts that do not have one on file!
Setting Up the Fuse Unable to Email Campaign
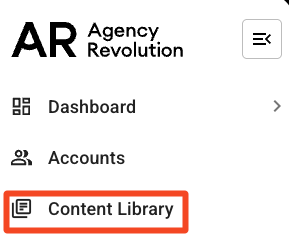
To locate the campaign, first, click "Content Library" in the left navigation bar.
Scroll down to the "Other" section within the Content Library and click "View All." Locate the Unable to Email campaign and select "Customize."

This will add the campaign to your Custom Campaigns within your Fuse account. Click "View/Edit" to start customizing the campaign.

Determine Your Audience
Next, we will confirm who gets the messages and when. The Unable to Email campaign targets Active Customers with No Valid Email. To audit the segment to confirm who is being targeted, click on "No Valid Email" in the "In other words" section.

When are people from Active No Email added and subtracted from the audience?
Next up, we will confirm when people will be added or removed from the audience. The campaign defaults to add audience members on an "Ongoing" basis. This means that if you obtain the customer's email address they will be removed from the campaign. Alternatively, if you remove a customer's email address they will be added to the campaign.
People in the No Valid Email segment will be added to the audience every time you sync your management system and removed when they no longer match your segment.
Steps
The "Steps" section will show you an overview of the campaign.

-
Whoops! We can't find an email - This email asks your staff to gather email addresses for accounts that are coming up for renewal.
-
Event's Relative Days - If you want to make changes to the event's relative days, you can click on the days listed on the far right of each step. By default, this campaign will run 100 days before a customer's policy expiration date.
-
Policy > Expiration Date - This campaign uses an Account Date Sequence. The default for this campaign is "Policy > Expiration Date."
-
Pencil Icon - You can click on this icon to edit the email content.
Launching Your Campaign
When you are ready to launch the campaign, set it live by clicking "Launch," on the bottom right corner.
Great job, you've set up the Unable to Email cpaign! If you ever need to edit or delete this campaign in the future, you can locate the campaign by clicking on Marketing > Custom Campaigns in your left navigation bar.